Hi everyone! this is Esar from GeekFeed.
You may have heard people say “make sure to take a day off or go on a staycation after you install Docker on Windows”. Well, we got the jokes, installing Docker can be stressful. Some developers even clearly mentioned that installing Docker on a Windows computer is not the best option compared to Mac or Linux computers – and we haven’t even talked about deploying Laravel yet.
Here, let me guide you through a less-stressful way of building Docker environment on your Windows computer and deploy Laravel project from scratch without digging into documentations.
目次
Installing Docker on Windows
Without the help from WSL 2 Docker can’t work independently on Windows 10. So, before installing Docker let’s install WSL 2 on Windows.
WSL 2 Installation
Step 1 – Enable the Windows Subsystem for Linux
Open PowerShell as Administrator and run:
dism.exe /online /enable-feature /featurename:Microsoft-Windows-Subsystem-Linux /all /norestart
How to open PowerShell as Administrator:
Start-Process powershell.exe -Verb runas
OR
Right click on PowerShell icon and click ‘open as administrator’
Step 2 – Enable Virtual Machine feature
Open PowerShell as Administrator and run:
dism.exe /online /enable-feature /featurename:VirtualMachinePlatform /all /norestart
Make sure to Restart your computer after this step to complete the WSL installation and update to WSL 2.
Step3 – Download the linux kernel update package
You can download from this link:
WSL2 Linux kernel update package for x64 machines
Step 4 – Set WSL 2 as default version
Open PowerShell (not as Administrator) and run:
wsl --set-default-version 2
Step 5 – Install Linux distribution
There’s a range of option of Linux distributions that you can choose. For this tutorial, let’s choose Ubuntu 20.04 LTS. The following link will direct you to Microsoft Store’s Ubuntu 20.04 LTS installation page :
When the installation completed, open ubuntu and set new UNIX username and password.
Docker Installation
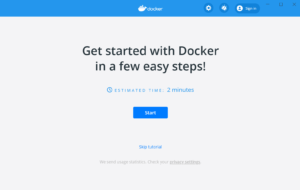
Click the following link and download and install “Docker Desktop for Windows” package.
Download Docker Desktop
After installation completed, let’s check if Docker is working properly.
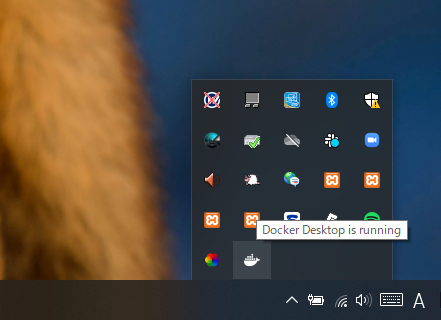
Open Docker Desktop application and it should appear like this:
Hover your mouse on docker mark and it should say ”Docker Desktop is running”.
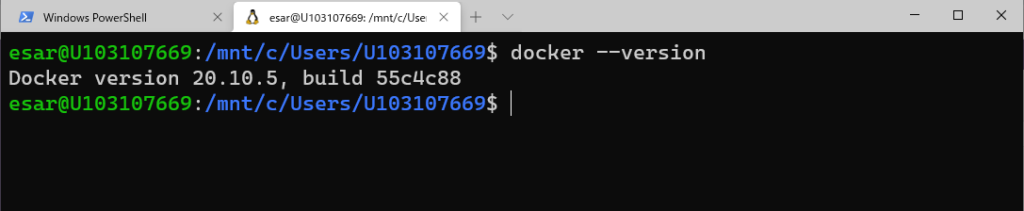
Open Ubuntu-20.04 terminal and run:
Docker --version
And it should show the Docker version like this:
That’s it for Docker on Windows!
Deploy Laravel 6 with Docker
Some of you might think version 6 is outdated and why would we choose that. The reason is that Laravel 6 has Long Term Support (LTS) and version 7 or 8 doesn’t.
So, let’s deploy Laravel 6 project with Docker.
Requirements:
- PHP 7
- NGINX
- MySQL
- Redis (optional)
Create New Laravel Project
Assuming that Composer is already installed in your computer,
Open Ubuntu 20.04 terminal and create new Laravel 6 project and name the project “laravel-docker”.
composer create-project --prefer-dist laravel/laravel="6.*" laravel-docker
Quick check and go to the project directory.
|
1 2 |
ls cd laravel6-docker |
Make sure Docker and docker-compose are already installed.
docker --version
docker-compose --version
Adding Required Files
There are 4 files required to be added to our project folder:
- docker-compose.yml
- app.dockerfile
- web.dockerfile
- vhost.conf
Structure in the project folder:
|
1 2 3 4 5 6 |
--laravel-docker | |--docker-compose.yml |--app.dockerfile |--web.dockerfile |--vhost.conf |
Let’s create the files.
docker-compose.yml
|
1 2 3 4 5 6 7 8 9 10 11 12 13 14 15 16 17 18 19 20 21 22 23 24 25 26 27 28 29 30 31 32 33 34 35 36 37 |
version: '2' services: web: build: context: ./ dockerfile: web.dockerfile volumes: - ./:/var/www ports: - "8080:80" links: - app app: build: context: ./ dockerfile: app.dockerfile volumes: - ./:/var/www links: - database environment: - "DB_PORT=3306" - "DB_HOST=database" database: image: mysql:5.6 environment: MYSQL_ROOT_PASSWORD: secret MYSQL_DATABASE: dockerApp ports: - "33061:3306" cache: image: redis:3.0 ports: - "63791:6379" |
note: we can change MySQL version to mysql:latest if needed.
app.dockerfile
|
1 2 3 4 5 6 |
FROM php:7.3-fpm RUN apt-get update && apt-get install -y libmcrypt-dev mariadb-client \ && docker-php-ext-install pdo_mysql WORKDIR /var/www |
web.dockerfile
|
1 2 3 4 |
FROM nginx:1.10 ADD ./vhost.conf /etc/nginx/conf.d/default.conf WORKDIR /var/www |
vhost.conf
|
1 2 3 4 5 6 7 8 9 10 11 12 13 14 15 16 17 18 |
server { listen 80; index index.php index.html; root /var/www/public; location / { try_files $uri /index.php?$args; } location ~ \.php$ { fastcgi_split_path_info ^(.+\.php)(/.+)$; fastcgi_pass app:9000; fastcgi_index index.php; include fastcgi_params; fastcgi_paramSCRIPT_FILENAME$document_root$fastcgi_script_name; fastcgi_param PATH_INFO $fastcgi_path_info; } } |
Run docker-compose and Check the Container
Don’t forget to check if there’s typos and save. Then run on terminal:
docker-compose up -d
This command will pull all needed images and it will create a container. Images that will be created include NGINX, PHP 7, MySQL, and Redis.
Next, check images and container and make sure they are running.
Run this command:
docker ps
OR
View on Docker Desktop that we installed earlier:
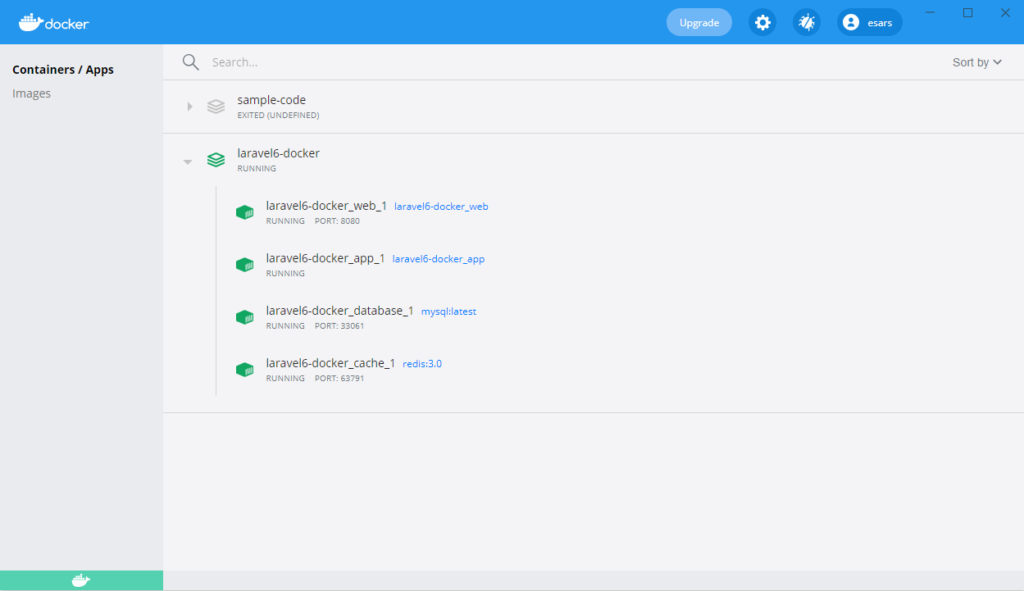
Now, we should be able to access Laravel 6 homepage by accessing localhost:8080 on the browser.

- 【2024】AWS Jr.Championsを振り返る - 2025-07-01
- 中級figma教室 - 2024-12-24
- おすすめガジェット紹介!2024年12月編 - 2024-12-21
- 【Amazon RDS】意図せず突発的な再起動が起こった原因 - 2024-12-19
- Amazon ConnectでNGワードをリアルタイムに検知してSlackに通知する - 2024-12-16
【採用情報】一緒に働く仲間を募集しています