Hello everyone, this is Kyle from Geekfeed! Today we’re going to take a look at how to get started with Vue.js and Tailwind in Laravel using an Amazon Linux 2 ec2 instance.
目次
Getting Started
First, the only thing you need to have ready before you start is an ec2 instance running Amazon Linux 2. After that, shell into the server and access the terminal.
For more information on making your own ec2 instance, check out Amazon Web Service’s page on the topic: https://aws.amazon.com/ec2
to begin, let’s log in as a super user:
|
1 |
sudo -i |
Installing PHP 8
The first thing we need to do is install PHP. You can do so with the steps written below:
1. Installing Necessary Repositories
|
1 2 3 |
yum -y install https://dl.fedoraproject.org/pub/epel/epel-release-latest-7.noarch.rpm yum -y install https://rpms.remirepo.net/enterprise/remi-release-7.rpm yum -y install yum-utils |
2. Preparing for the download
|
1 2 3 |
yum-config-manager --disable 'remi-php*' amazon-linux-extras enable php8.0 yum clean metadata |
3. Installing PHP 8 and Relevant Packages
|
1 |
yum install php-{pear,cgi,pdo,common,curl,mbstring,gd,mysqlnd,gettext,bcmath,json,xml,fpm,intl,zip} |
Finally, we can check that PHP is properly installed with the following command:
|
1 |
php --version |
Installing Composer
After installing PHP, we need to install composer: the package that allows us to install Laravel itself.
4. Downloading the Repo
|
1 |
curl -sS https://getcomposer.org/installer | sudo php |
5. Adding composer to PATH
|
1 2 |
mv composer.phar /usr/local/bin/composer ln -s /usr/local/bin/composer /usr/bin/composer |
Once again, we’ll confirm the installation is successful by running a test command:
|
1 |
composer |
Installing Apache
Apache is the package that will run the actual server we use to host the website. You can install it like this:
6. Installing Apache
|
1 |
yum install httpd -y |
7. Enabling the Httpd Daemon
|
1 2 |
systemctl restart httpd systemctl enable httpd |
Installing Laravel & Setting Up the Server
Finally, we can begin to make the directory for our project. We can make a new directory and install Laravel into that directory using composer. Then, we’ll recursively edit the permissions on that directory to allow apache to read and edit the files within.
8. Installing Laravel
|
1 2 3 |
cd /var/www composer create-project laravel/laravel example-laravel-app cd example-laravel-app |
9. Setting Chown & Chmod Permissions
|
1 2 |
chmod -R 775 example-laravel-app chown -R ec2-user:apache example-laravel-app |
※ These permissions are meant for practice and development use only.
10. Editing httpd.conf
Now we’ll edit the Apache settings to direct traffic to our Laravel directory. Use vim to open the httpd.conf file, then edit the settings in the file like the example below. Make sure to add the IP address of your ec2 instance.
|
1 |
vim /etc/httpd/conf/httpd.conf |
|
1 2 3 4 5 6 7 8 9 |
<VirtualHost *:80> ServerName <!-- your IP address --> DocumentRoot /var/www/example-laravel-app/public <Directory /var/www/example-laravel-app/public> AllowOverride All Require all granted </Directory> </VirtualHost> |
11. Commenting out welcome.conf
Now we need to disable the default apache page. We can do so by commenting out each line of the welcome.conf file using the pound sign.
|
1 |
vim /etc/httpd/conf.d/welcome.conf |
|
1 2 3 4 5 6 7 8 9 10 11 12 13 14 15 16 17 18 19 20 |
# # This configuration file enables the default "Welcome" page if there # is no default index page present for the root URL. To disable the # Welcome page, comment out all the lines below. # # NOTE: if this file is removed, it will be restored on upgrades. # #<LocationMatch "^/+$"> # Options -Indexes # ErrorDocument 403 /.noindex.html #</LocationMatch> # #<Directory /usr/share/httpd/noindex> # AllowOverride None # Require all granted #</Directory> # #Alias /.noindex.html /usr/share/httpd/noindex/index.html |
12. Starting Httpd and Php-fpm
Now just a few more settings and we should be good to go!
|
1 2 3 |
systemctl start httpd systemctl start php-fpm systemctl enable php-fpm |
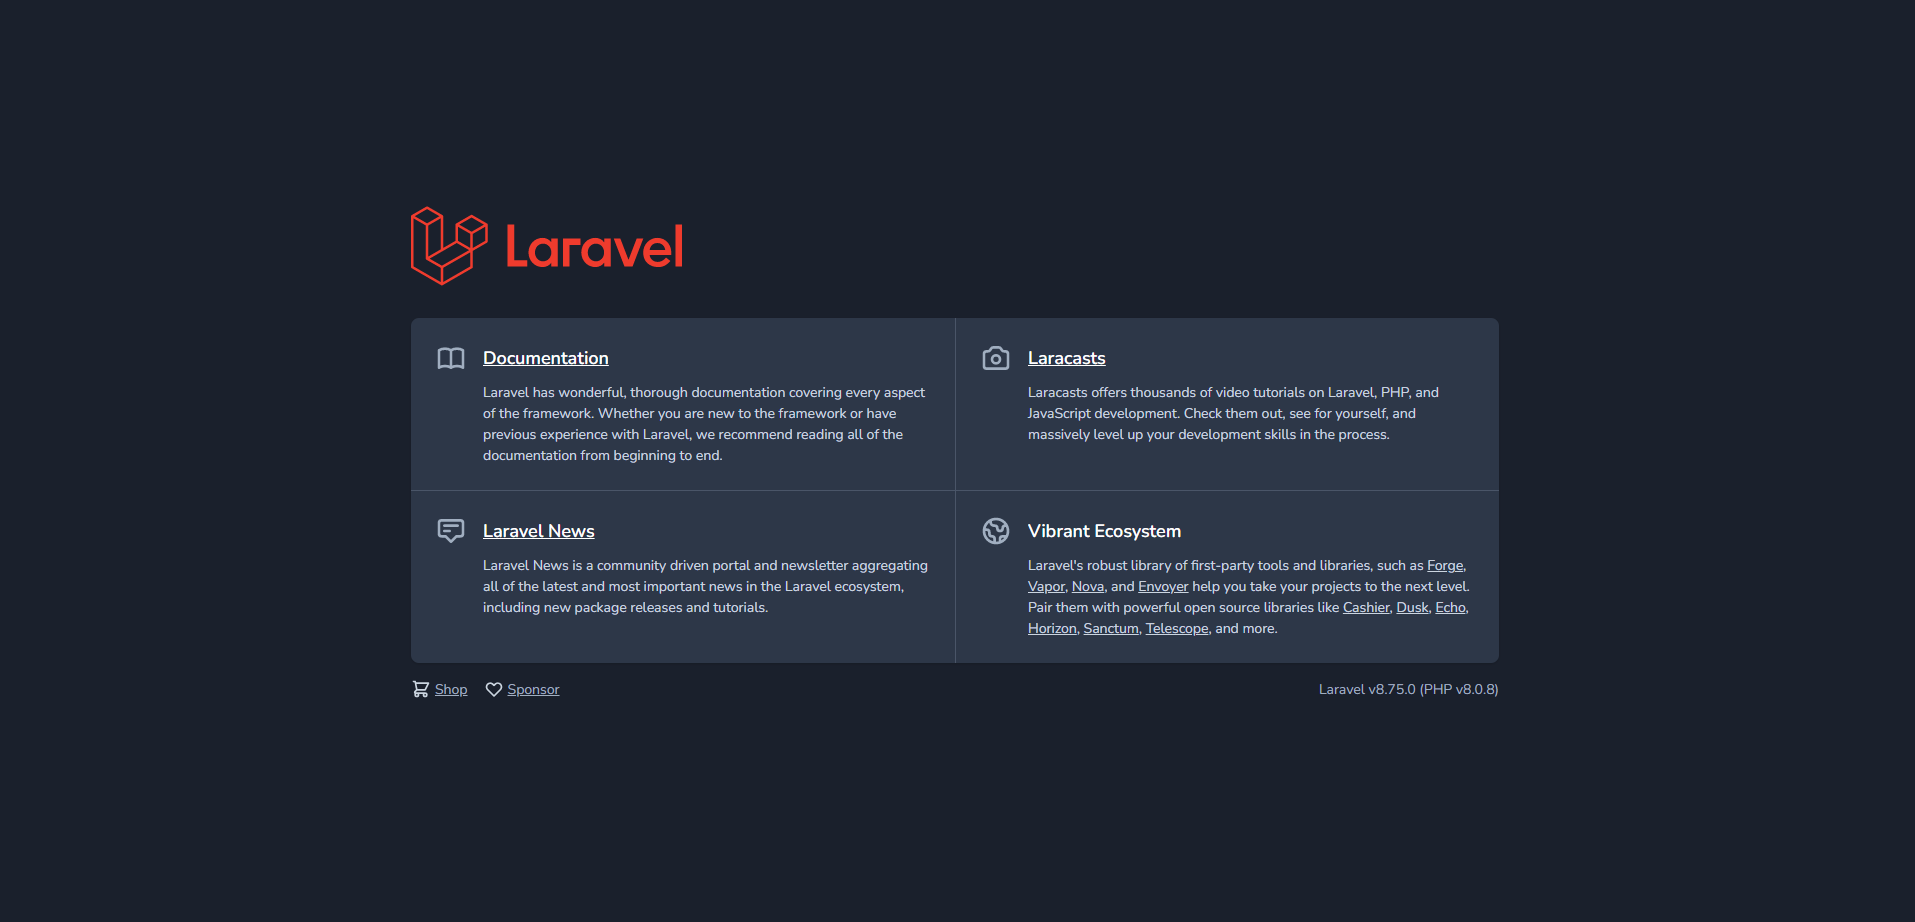
At this point, you should be able to visit the website yourself using your ec2 instance’s IP address to check if everything is working properly.
|
1 |
http://<YOUR IP ADDRESS HERE>/ |

Adding Node and Vue
With our server up and running, we can begin to add to it. Let’s start with node, the package manager we’ll use to download Vue.js.
13. Installing Node Version Manager & Node
|
1 2 3 4 |
curl -o- https://raw.githubusercontent.com/nvm-sh/nvm/v0.34.0/install.sh | bash . ~/.nvm/nvm.sh nvm install node node -v |
14. Installing Vue
Now, we’ll install Vue.js itself.
|
1 2 3 4 |
cd /var/www/laravel-example-app npm install --save vue@next && npm install --save-dev vue-loader@next npm install npm run dev |
If an error occurs, just try running “npm run dev” one more time.
Adding in Tailwind
Finally, we’ll add tailwind, completing our front-end stack.
15. Installing Tailwind
|
1 2 |
npm install -D tailwindcss@latest postcss@latest autoprefixer@latest npx tailwindcss init |
16. Editing the Webpack
|
1 |
vim webpack.mix.js |
|
1 2 3 |
mix.js("resources/js/app.js", "public/js") .vue() .postCss("resources/css/app.css", "public/css", [require("tailwindcss")]); |
17. Editing app.css
Now, run the following command, and add the lines below to the top of your app.css
|
1 |
vim resources/css/app.css |
|
1 2 3 4 |
/* Add this to the top of your app.css */ @tailwind base; @tailwind components; @tailwind utilities; |
18. Adding app.css to your blade files
Great! Now everything should be in working order. The last thing to do is to add the following link to any files that need to use tailwind:
|
1 |
<link rel="stylesheet" href="{{ asset('css/app.css') }}"> |
This will work like any normal stylesheet, allowing you to use tailwind classes like normal CSS.
Conclusion
Vue and Tailwind are both great technologies that help modern web designers build robust applications.
I hope this blog helps you to build your own projects using Laravel, Vue.js, and Tailwind.
- 中級figma教室 - 2024-12-24
- おすすめガジェット紹介!2024年12月編 - 2024-12-21
- Amazon ConnectでNGワードをリアルタイムに検知してSlackに通知する - 2024-12-16
- AWS Amplify AI KitでAIチャットアプリを爆速で作ってみる - 2024-12-14
- AWS LambdaをC#で実装する(ついでにラムダ式を書く) - 2024-12-09
【採用情報】一緒に働く仲間を募集しています


